As an Amazon Associate I earn from qualifying purchases.
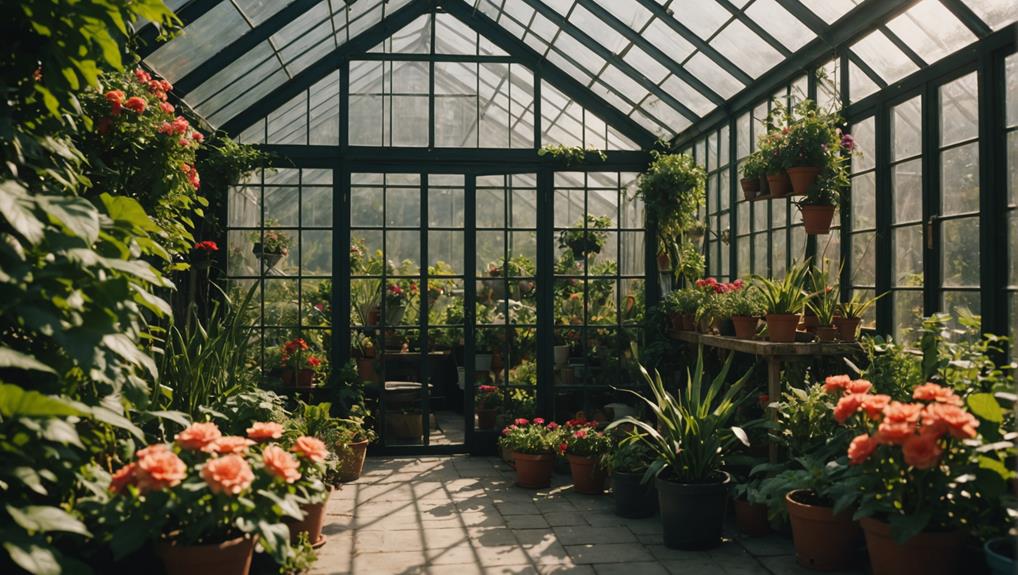
Starting on the journey of building your own greenhouse can greatly boost your self-sufficiency, allowing you to grow fresh produce all year. First, you need to choose the perfect location, ensuring ample sunlight and protection from harsh winds. Next, gather essential materials like PVC pipes and polythene sheeting. Constructing a sturdy framework with raised garden beds will optimize drainage and plant health. But that's just the beginning. Have you considered how to maintain the right temperature and humidity levels inside your greenhouse? The following steps will guide you through…
Choosing the Right Location
Selecting the appropriate location for your greenhouse is fundamental to guarantee it receives at least 6-8 hours of direct sunlight daily. This sunlight is essential for optimizing plant growth and photosynthesis, which are key to becoming self-sufficient.
First, verify the ground is level. A stable base not only supports the structure but also facilitates proper drainage, preventing water accumulation that could harm your plants.
Avoid placing your greenhouse under trees or near tall structures. These can block sunlight, especially during the winter months when the sun sits lower in the sky. Maximizing sunlight exposure throughout the year is critical for a thriving, productive greenhouse.
Proximity to nutrient-rich soil is another consideration. Test the soil quality in the selected area before construction. Having nutrient-dense soil nearby supports robust plant growth, making your self-sufficient gardening efforts more successful.
Lastly, consider wind exposure and local weather patterns. High winds can destabilize your greenhouse, so you might need additional support structures. Understanding your area's climate will help you design a more resilient greenhouse, guaranteeing your self-sufficiency goals are met.
Gathering Essential Materials
Gathering vital materials is the first step towards building a sturdy and efficient greenhouse. Start by sourcing durable materials like PVC pipes, polythene sheeting, and lumber panels. These materials are budget-friendly and suitable for various climates, guaranteeing your greenhouse will stand strong and provide a suitable environment to store root vegetables.
To guarantee structural stability, gather eight pieces of rebar, each measuring ½ inch by 1 foot. These will be hammered securely into the ground, evenly spaced to support the greenhouse framework.
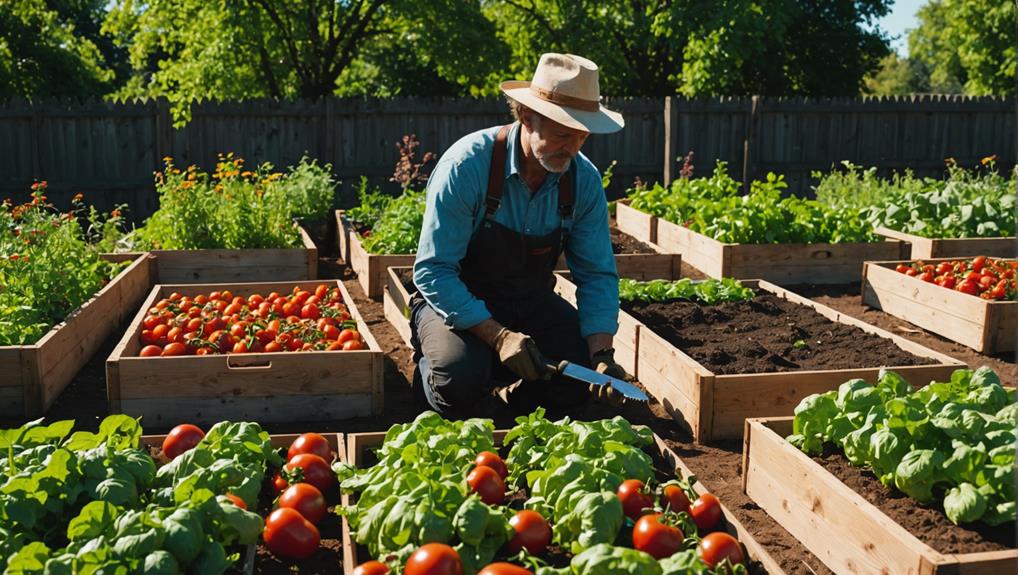
Raised garden beds are also essential. Use old lumber, nails, wood screws, and a black vapor barrier to construct these beds. They improve drainage and aeration while providing pest and weed control.
Here's a quick checklist to get you started:
- Materials: PVC pipes, polythene sheeting, lumber panels, rebar.
- Tools: Hammer, saw, drill, gardening gloves.
Additionally, consider using recyclable materials from your home to cut costs and promote sustainability. This practice not only saves money but also reduces waste, making your greenhouse project environmentally friendly.
With these vital materials ready, you're well on your way to creating a productive space for growing and storing root vegetables.
Constructing the Framework
With your materials ready, start by laying out the rebar pieces evenly to form the foundational support for the greenhouse framework. You'll need eight pieces of rebar, each measuring ½ inch by 1 foot. Space them evenly and hammer them into the ground. These rebar pieces will provide the necessary stability for the PVC pipe framework.
Next, gather your PVC pipes and connect them to form the skeleton of your greenhouse. PVC pipes are budget-friendly and durable, making them an excellent choice for this project. Attach the pipes to the rebar supports securely. Verify the structure is level and stable, as this will form the backbone of your greenhouse.
Once the main structure is up, focus on constructing raised garden beds. Build them using old lumber, nails, and a black vapor barrier. A size of 7 feet by 5 feet is ideal for your herb garden, providing ideal drainage and aeration for your plants. Position these beds inside your greenhouse framework.
Choose a location that receives ample sunlight and has good drainage. This prevents water accumulation around your greenhouse, maintaining a healthy environment for your herb garden.
Now, you're well on your way to creating a self-sufficient growing space.
Installing the Greenhouse Cover
When installing the greenhouse cover, use polythene sheeting for its insulation benefits and adaptability.
Secure the sheeting tightly with paving blocks to guarantee it's wrinkle-free and retains moisture effectively.
Adjust the cover seasonally, adding a double layer during colder months for extra insulation.
Securing Polythene Sheeting
To secure the polythene sheeting over your greenhouse structure, start by ensuring it's taut and wrinkle-free for ideal light penetration and insulation. This step is vital for maximizing food production, as proper light and temperature control directly affect plant growth and yield.
First, place a black vapor barrier underneath the sheeting. This barrier helps regulate temperature and guards against moisture loss.
Next, drape the polythene over the greenhouse frame, making sure it's evenly distributed and smooth. Use paving blocks to anchor the sheeting along the base, which will help maintain moisture levels and prevent wind damage.
Regularly check the sheeting for any signs of wear or damage, especially after severe weather, and replace it as needed to keep your greenhouse in prime condition.
- Inspect regularly: Look for tears, holes, or wear and tear, especially after storms.
- Use paving blocks: Secure the edges to prevent wind from lifting the sheeting.
Insulation and Moisture Control
Guaranteeing proper insulation and moisture control in your greenhouse starts by securely installing the polythene cover over the structure. This cover is essential for maintaining a stable temperature and protecting your plants from harsh weather.
To start, secure the polythene sheeting with paving blocks or similar weighted materials to keep it from blowing away in strong winds. This step not only helps with insulation but also maintains the moisture levels within the greenhouse.
Make certain the cover is taut and free of wrinkles. A smooth cover maximizes light penetration and minimizes the risk of water accumulation, which can lead to mold and other issues. Regularly check for any tears or damage in the cover and repair them promptly. This guarantees that your greenhouse retains ideal insulation and moisture control, providing a stable environment for your plants.
For enhanced insulation, especially in colder climates, consider using a double-layer of polythene. The air pocket between the layers can greatly improve thermal performance.
Seasonal Cover Adjustments
Adjusting your greenhouse cover seasonally is essential for maintaining an ideal growing environment year-round. Seasonal cover adjustments might seem like hard work, but they're vital for ensuring your plants thrive no matter the weather.
Start by using polythene sheeting for insulation. Secure it with paving blocks to keep moisture levels stable and prevent wind damage. Regularly inspect the cover for any tears or wear, as even small openings can cause significant temperature loss and humidity fluctuations.
During winter, consider adding an extra layer or using thermal blankets to protect plants from extreme cold and reduce heating costs.
In summer, adjust the cover by incorporating shading materials like shade cloth to prevent overheating and shield your plants from intense sunlight. Regular maintenance of the greenhouse cover is also key. Keep debris off the surface to maximize sunlight penetration and promote healthy plant growth.
Here are some tips to make your seasonal cover adjustments easier:
- Use thermal blankets in winter: They add an extra layer of protection against the cold.
- Incorporate shade cloth in summer: This helps to prevent overheating.
Setting Up Ventilation Systems
When setting up ventilation systems in your greenhouse, it is vital to guarantee consistent airflow to regulate temperature and humidity. Proper ventilation prevents overheating and promotes healthy plant growth. You can use manual or automatic roof vents, side vents, and exhaust fans to achieve this. Aim for one square foot of vent area for every 100 square feet of greenhouse space to confirm adequate air exchange.
Incorporating passive ventilation methods, such as placing vents on opposite sides of the greenhouse, leverages natural wind currents for improved airflow. Regular maintenance is important—clean vents and check for blockages to make certain your systems function effectively throughout the growing season.
Here's a quick comparison of manual and automatic ventilation options:
| Feature | Manual Vents | Automatic Vents |
|---|---|---|
| Cost | Lower initial cost | Higher initial cost |
| Maintenance | Requires regular manual operation | Minimal manual intervention required |
| Efficiency | Depends on human intervention | Adjusts based on temperature changes |
| Best For | Smaller greenhouses | Larger greenhouses or less frequent access |
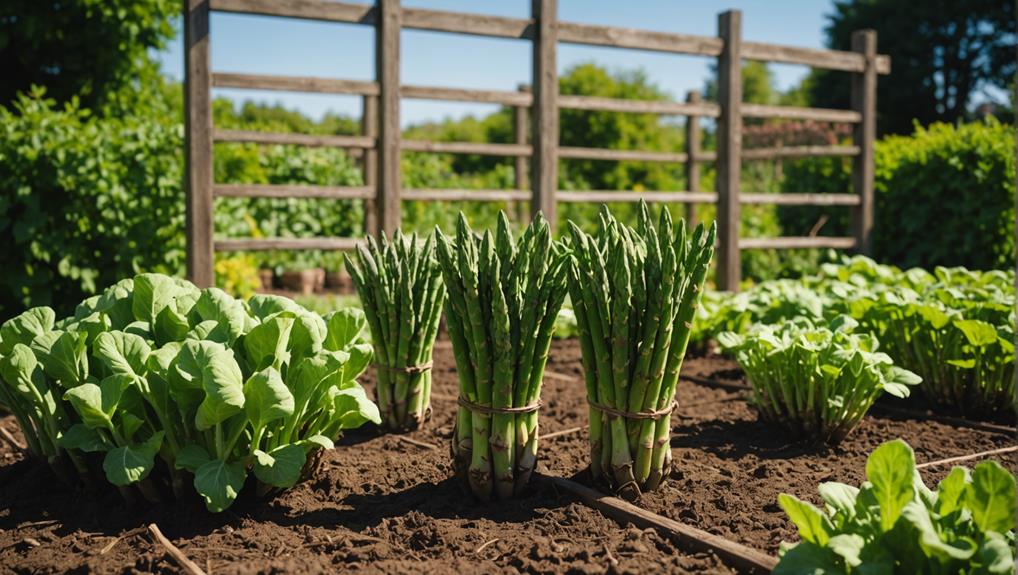
Building Raised Garden Beds
To get started with building raised garden beds, you'll need to gather materials like rot-resistant wood, nails, wood screws, and a black vapor barrier.
Next, we'll walk you through the step-by-step construction process to guarantee your beds are both functional and durable.
Materials and Tools Needed
For building raised garden beds, gather durable materials like old lumber, nails, wood screws, a black vapor barrier, and staples to confirm the structure lasts and promotes healthy soil.
Raised garden beds can be a game-changer for growing your own food, especially in a greenhouse setting where you control the environment.
You'll need to verify your garden beds are of sturdy construction and elevated above ground level for ideal drainage and aeration. These conditions are vital for healthy root development, which in turn supports robust food production.
Here are some essential materials and tools you'll need:
- Old Lumber: Opt for untreated wood to avoid chemicals leaching into the soil.
- Black Vapor Barrier: This helps prevent weeds while maintaining proper drainage.
A typical raised garden bed size is 7 feet by 5 feet, but you can adjust it based on your available space and gardening needs.
Regularly check your materials for decay or damage to maintain your bed's integrity over time. This diligence is essential for confirming your garden remains a sustainable food source for years to come.
Construction Step-by-Step
Start by choosing a level area with good drainage to lay out your lumber in the desired rectangular shape. This step-by-step guide will walk you through building a raised garden bed. First, secure the corners of the lumber using nails or wood screws to form a sturdy frame, typically around 7 feet by 5 feet, though you can adjust the size based on your space.
Next, line the bottom of the frame with a black vapor barrier. This prevents weeds and pests from invading while allowing excess water to drain properly. Afterward, fill the bed with a mixture of quality soil and compost to create a nutrient-rich environment for your plants.
Here's a quick reference table to keep you on track:
| Step | Task | Purpose |
|---|---|---|
| 1 | Choose level area | Guarantee good drainage |
| 2 | Secure lumber frame | Create sturdy structure |
| 3 | Add vapor barrier | Prevent weeds/pests |
| 4 | Fill with soil/compost | Provide nutrients |
| 5 | Monitor moisture/nutrients | Support plant growth |
Regularly monitor the raised bed's moisture levels and nutrient content. Adjust watering and fertilization as needed to support healthy plant growth. By following this step-by-step guide, you'll have a functional raised garden bed ready for planting in no time.
Implementing Water Collection
When setting up a greenhouse, installing a rainwater collection system can drastically cut down your reliance on municipal water sources.
Consider the benefits: an average roof can collect around 600 gallons of water for every inch of rainfall. This makes rainwater collection an efficient and sustainable choice for irrigation.
To get started, install gutters and downspouts on your greenhouse to channel rainwater into storage barrels or tanks.
Make sure you use food-grade storage containers to prevent contamination, with a minimum size of 50 gallons recommended for effective storage.
- Gutters and Downspouts: Efficiently channel water into storage.
- Food-Grade Storage Containers: Prevent contamination and guarantee safe water.
Regular maintenance is vital. Clean your gutters and filters frequently to prevent debris buildup and maintain the quality of your harvested water.
Year-Round Maintenance Tips
After setting up your rainwater collection system, it's vital to regularly monitor and maintain your greenhouse to secure ideal growing conditions year-round. Start by keeping a close eye on temperature and humidity levels. Adjust ventilation as needed to prevent overheating or excessive moisture, which can both harm your plants.
Implement a consistent watering schedule, considering seasonal changes and specific plant needs. This guarantees your plants receive adequate hydration all year round. Additionally, use organic mulch to retain soil moisture, regulate temperature, suppress weeds, and enhance nutrient availability.
Crop rotation is significant for maintaining soil health and minimizing pest infestations. By rotating crops annually, you allow different plants to replenish nutrients and disrupt disease cycles. Don't forget to schedule seasonal maintenance tasks like checking structural integrity, cleaning covers, and removing debris. This will secure the longevity and effectiveness of your greenhouse.
Here's a quick reference table to help you stay on top of year-round maintenance tasks:
| Task | Frequency | Purpose |
|---|---|---|
| Monitor temperature | Daily | Prevent overheating/excessive moisture |
| Implement watering | Weekly/Seasonally | Confirm proper hydration |
| Apply organic mulch | Annually | Retain moisture, regulate temperature |
| Rotate crops | Annually | Improve soil health, reduce pest issues |
| Seasonal maintenance | Quarterly | Check structure, clean covers, remove debris |
Conclusion
By building your own greenhouse, you're taking a significant step toward self-sufficiency.
You've chosen the right location, gathered essential materials, and constructed a sturdy framework.
With proper insulation, ventilation, and water management, you'll maintain a stable environment for year-round cultivation.
Raised garden beds enhance drainage, ensuring healthy plants.
Remember to adjust covers seasonally and stay on top of maintenance.
Your greenhouse will be a sustainable, productive haven, empowering you to grow fresh produce all year long.
As an Amazon Associate I earn from qualifying purchases.